
From Product Idea to Mass Production: The Outdoor OEM Process
Follow the complete outdoor product OEM process from product brief and feasibility through sampling, testing, production and shipment release.
Published July 26, 2026
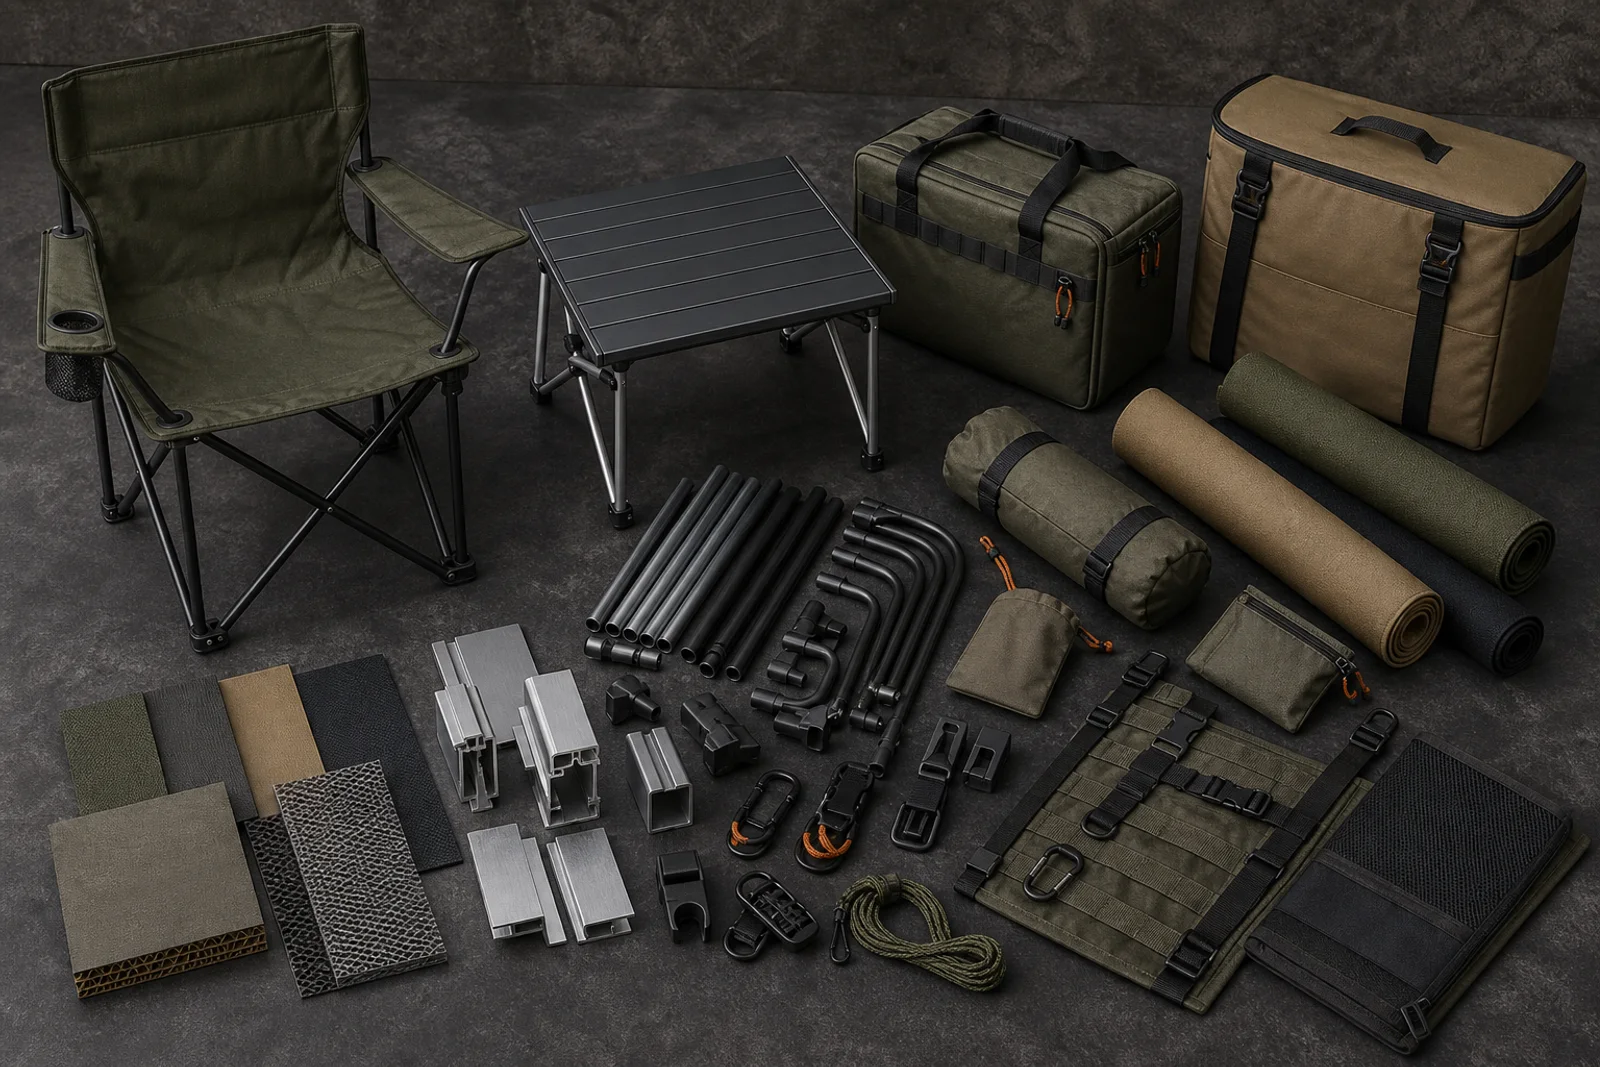
The outdoor OEM process is a sequence of decisions. Each stage should reduce uncertainty before the project commits more money to materials, tooling and production.
Skipping a decision rarely removes it. It usually moves the decision to the factory floor, where the cost of correction is higher.
Stage 1: Product brief and commercial fit
The buyer defines the product problem, target user and market position. A useful brief includes:
- Intended use and environment
- Required and optional features
- Target dimensions, weight and packed size
- Material preferences
- Branding and color
- Destination markets
- Initial order quantity and forecast
- Packaging channel
- Target launch date
- Commercial target
The manufacturer reviews whether the project fits its processes, supply network, quantity model and timing.
At this stage, identify assumptions rather than forcing a precise quotation from incomplete information.
Stage 2: Feasibility and sourcing route
The supplier proposes one of three broad routes:
- Apply branding to an established product
- Configure an existing platform
- Develop a new custom construction
The team reviews material availability, tooling, critical risks, estimated MOQ, testing and schedule. A feasibility review should also identify outsourced processes and high-risk components.
Use our OEM versus ODM guide to compare development responsibility and control.
Stage 3: Preliminary specification and quotation
The quotation should reference a defined revision. It needs enough detail to make supplier comparisons meaningful:
- Material and construction assumptions
- Included customization
- Quantity by SKU and color
- Tooling and sample charges
- Packaging
- Quality and testing scope
- Lead time and start condition
- Payment terms
- Incoterm and named location
Open items should be listed as provisional. This prevents an early estimate from being treated as the final price after the product changes.
Stage 4: Prototype development
Sampling begins with specific questions. The first sample may validate size and function, while later samples close final materials, branding and packaging.
Feedback is consolidated in a numbered document with annotated photos and measurable changes. The supplier responds to every item and updates the specification.
Read the custom camping product sampling guide for the full approval structure.
Stage 5: Testing and design verification
The team identifies hazards, performance claims and destination-market requirements. Development tests compare constructions and reveal failure modes.
Testing may cover materials, seams, structural function, repeated use, stability, water exposure, chemical restrictions, labeling or packaging. The plan is specific to the product.
If a test fails, contain the issue, identify the cause, revise the controlled specification and retest as needed. Do not treat a modified sample as approved until the change is recorded.
Stage 6: Pre-production approval
The buyer approves a sample representative of the intended product. The release package should include:
- Final product specification
- Drawings and tolerances
- Bill of materials
- Approved material and color references
- Branding artwork
- Labels, warnings and instructions
- Packaging files and pack-out
- Test requirements and reports
- Inspection checklist
- Change history
The purchase order, payment milestone and material release are aligned with this revision.
Stage 7: Material booking and production planning
The factory books materials and assigns production capacity. The schedule identifies critical suppliers and bottlenecks.
The buyer receives milestone dates for materials, first production, main assembly, packing and inspection. Our OEM lead-time guide explains how to build this critical path.
Any material substitution requires review before use. Availability pressure does not remove the need for approval.
Stage 8: First article and in-process control
The production team builds the first unit or initial batch using mass-production processes. It is checked against the approved specification before the run proceeds.
In-process controls focus on characteristics that cannot be corrected easily after assembly, such as component identity, seams, structural joints, coating, alignment or embedded labels.
Records should identify the product, date, line and result so a problem can be traced and contained.
Stage 9: Final inspection and shipment release
Final inspection confirms product identity, workmanship, dimensions, function, packaging, labels and quantity using the agreed plan.
Allow time between inspection and loading. If sorting or rework is required, the team needs a realistic recovery window and reinspection decision.
Inspection does not replace process control. It provides evidence that the completed order conforms to the approved requirements.
Stage 10: Delivery, feedback and repeat-order control
After delivery, collect defects, returns, customer questions and packaging damage in a structured way. Classify the cause:
- Product design
- Manufacturing variation
- Packaging or transport
- Instructions
- Customer expectation
Update the specification and corrective actions before the next purchase order. A repeat order should reference the approved revision and list every intentional change.
The approval-gate model
The full workflow can be summarized as:
Brief → Feasibility → Quotation → Prototype → Verification → Pre-production approval → Material release → Production → Inspection → Feedback
Each arrow is an approval gate. The exact number of samples and tests varies, but control should become stronger as financial commitment increases.
Explore TrailFoundry's OEM and ODM service structure and factory quality approach. To start a feasibility review, send your product brief with quantity, customization and destination market.